

How to Test Your Intake Air Temperature Sensor: A Step-by-Step Guide

Introduction
Understanding the complexities of an intake air temperature (IAT) sensor is crucial for anyone aiming to enhance their vehicle's performance. This essential component not only gauges the temperature of incoming air but also significantly contributes to efficient combustion and fuel economy. Many vehicle owners often wonder how to effectively test this sensor to ensure optimal engine function.
What challenges might arise during this testing process? And how can these obstacles be overcome to guarantee accurate results? By addressing these questions, you can take informed steps toward maintaining your vehicle's peak performance.
Understand the Intake Air Temperature Sensor
The intake air gauge (IAT) device stands as a crucial component in modern automobiles, particularly in performance-oriented models like the Holden Commodore. It plays a vital role by measuring the temperature of the air entering the engine, delivering essential data to the engine control unit (ECU). This information is pivotal for adjusting the air-fuel mixture, thereby optimizing combustion efficiency and enhancing overall engine performance.
A well-functioning IAT device not only ensures smooth engine operation but also improves fuel economy and reduces emissions. Understanding how this device operates and its significance within the engine management system is crucial for learning how to test the intake air temperature sensor effectively to diagnose potential issues.
By grasping the importance of the IAT, automotive enthusiasts can take informed actions to maintain and enhance their vehicle's performance.

Gather Necessary Tools for Testing
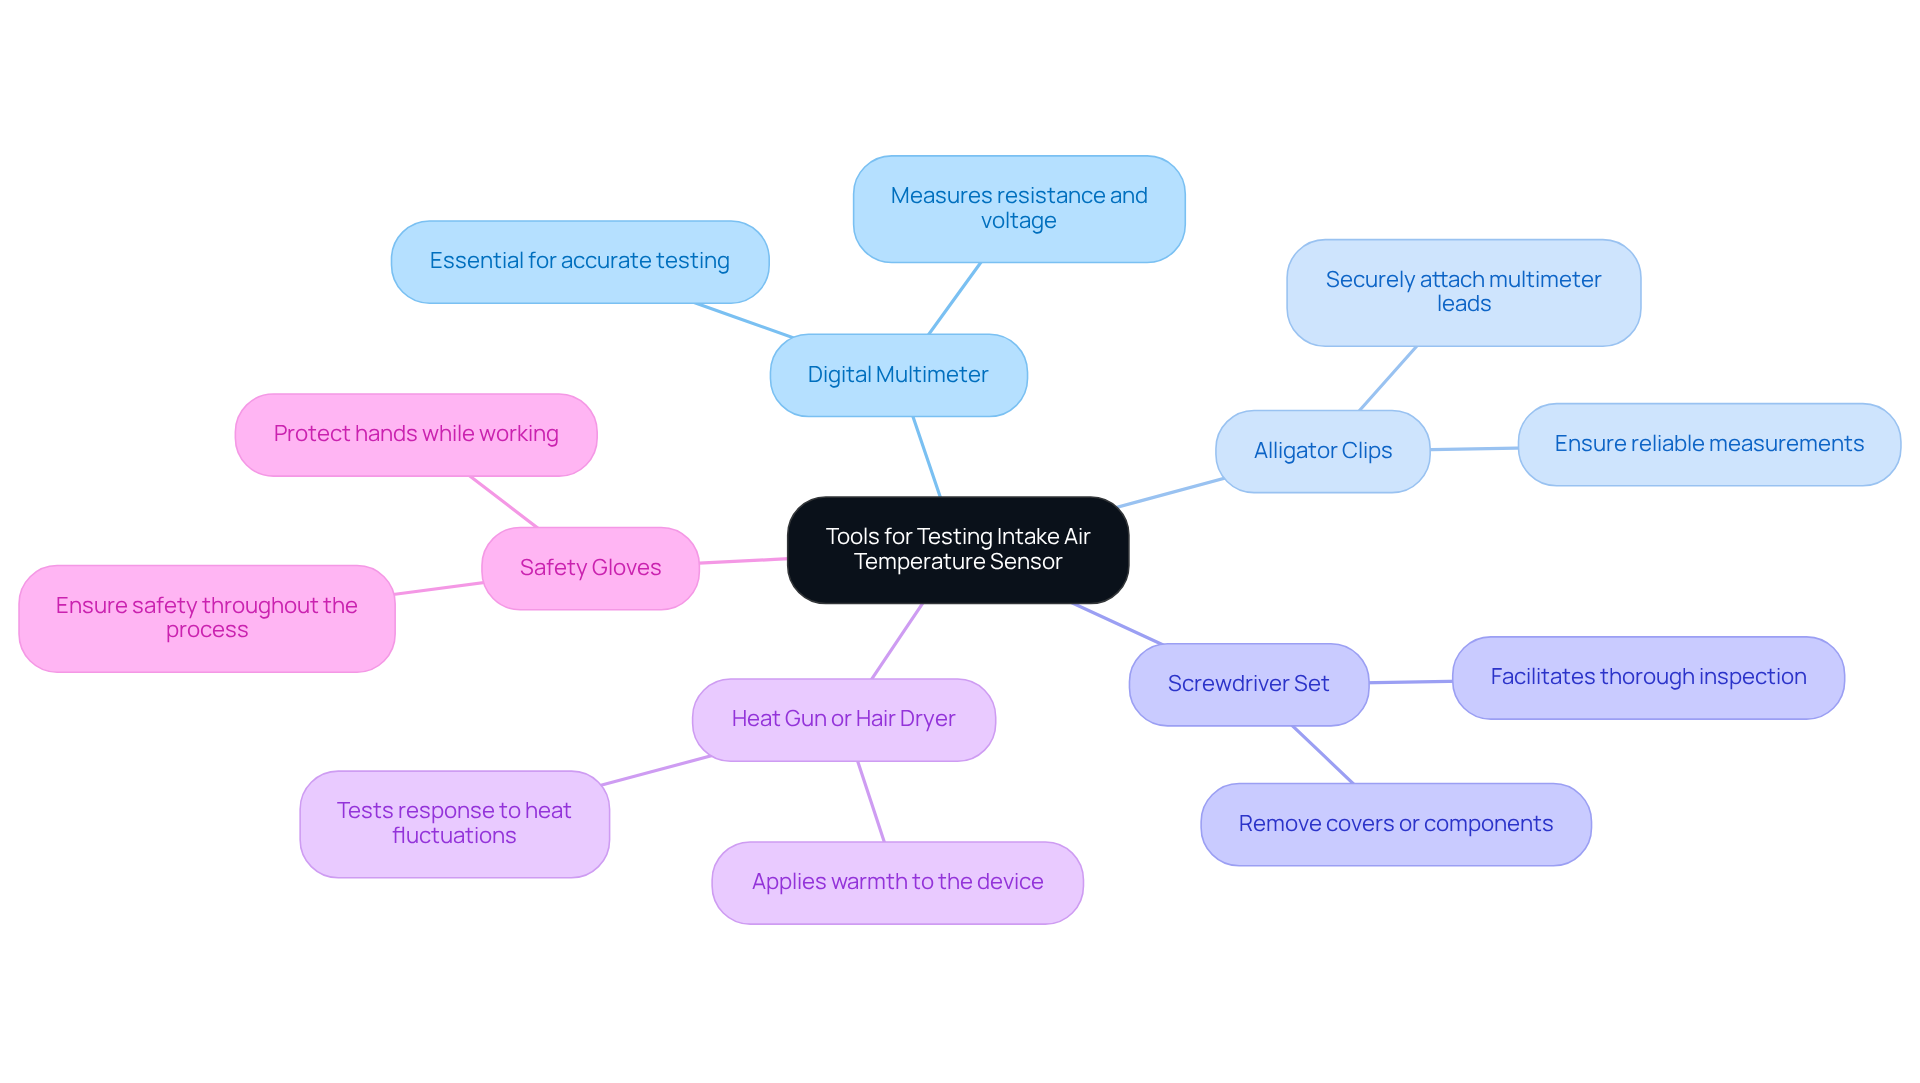
To effectively test your intake air temperature sensor, you'll need a few essential tools:
- Digital Multimeter: This tool is crucial for measuring resistance and voltage. Make sure it has an ohm setting for accurate resistance testing.
- Alligator Clips: These handy clips will securely attach the multimeter leads to the terminal points, ensuring reliable measurements.
- Screwdriver Set: You might need this to remove any covers or components that obstruct access to the IAT device, allowing for a thorough inspection.
- Heat Gun or Hair Dryer: Use this to apply warmth to the device, testing its response to heat fluctuations effectively.
- Safety Gloves: Always wear gloves to protect your hands while working on the vehicle, ensuring safety throughout the process.
Having these tools ready will streamline your testing process, especially when you need to know how to test intake air temperature sensor, and help you achieve accurate results. Equip yourself with the right tools, and take the first step towards ensuring your vehicle's performance.
Follow Step-by-Step Testing Procedures
To effectively test your intake air temperature (IAT) sensor, follow these essential steps:
- Locate the IAT Device: This component is typically found in the intake manifold or near the air filter. For precise location details, consult your vehicle's manual.
- Disconnect the Device: Carefully unplug the electrical connector from the IAT component to avoid damaging the wiring.
- Set Up the Multimeter: Switch your multimeter to the ohm setting and connect the leads to the two terminals of the device.
- Measure Opposition: Document the opposition reading at ambient conditions (approximately 25°C). A typical IAT measurement should range from 2.0 to 6 KOhm. At elevated temperatures, such as 80°C, the opposition should be around 300 Ohm.
- Check Supply Voltage: With the ignition on and the control unit connected, measure the supply voltage at the plug. It should be approximately 5 V.
- Apply Heat: Use a heat gun or hair dryer to gently warm the device while observing the impedance. Expect the reading to decrease as the temperature rises.
- Compare Readings: After heating, allow the device to cool and measure the resistance again. Compare these readings to the manufacturer's specifications to evaluate the device's functionality. A defective IAT device can lead to stored fault codes and activate the engine indicator lamp.
- Reconnect the Device: Once testing is complete, securely reconnect the device and ensure all connections are intact.
By following these steps on how to test intake air temperature sensor, you can ensure optimal vehicle performance by accurately assessing the status of your IAT device.

Troubleshoot Common Testing Issues
When you want to know how to test intake air temperature sensor, you may encounter several common issues that can hinder your progress. Here are some essential troubleshooting tips to help you navigate these challenges effectively:
- No Reading on Multimeter: If your multimeter shows no measurement, first ensure that the leads are securely connected to the terminal points. Confirm that the multimeter is set to the appropriate setting for measuring electrical resistance.
- Unreliable Measurements: If you notice varying conductivity values, this could indicate a defective device or weak connections. Examine the wiring and connectors for any signs of damage or corrosion, as these are frequent culprits behind device failures.
- Unexpected Resistance Values: Should the resistance fall outside the expected range - typically between 2.0 to 6 KOhm at 25°C and around 300 Ohm at 80°C - the device may be defective. In such cases, consider replacing the device and retesting to confirm its functionality.
- Difficulty Accessing the Device: If accessing the IAT device proves challenging, consult your vehicle's service manual for guidance on removing any obstructive components. This can save you time and prevent damage during the testing process.
- Heat Application Issues: When using a heat gun or hair dryer to assess the device's response to temperature changes, exercise caution to avoid overheating it. Maintain a safe distance from the heat source and observe the device closely to prevent damage.
- Check Supply Voltage: Ensure that the supply voltage at the connector is approximately 5 V with the ignition on. If this voltage is not present, investigate the control unit's voltage supply and ground supply.
- Common Causes of Failure: Be aware that frequent reasons for failure of the intake-air temperature device include internal short circuits, breaks in wiring, and mechanical damage. Addressing these issues can help prevent future sensor problems.
By understanding how to test intake air temperature sensor and addressing these common issues, you can streamline your testing process and achieve more accurate results, ultimately enhancing your vehicle's performance.

Conclusion
Understanding the intake air temperature (IAT) sensor is crucial for anyone aiming to optimize their vehicle's performance. This component is vital in measuring the temperature of air entering the engine, which directly influences the air-fuel mixture and ensures efficient combustion. By effectively testing the IAT sensor, vehicle owners can diagnose potential issues and maintain their engine's functionality, leading to improved fuel economy and reduced emissions.
This article provides a comprehensive step-by-step guide on testing the intake air temperature sensor, highlighting the importance of gathering the right tools, such as:
- A digital multimeter
- Alligator clips
- A heat source
It outlines essential testing procedures, including:
- Measuring resistance and supply voltage
- Applying heat
- Troubleshooting common issues that may arise during the process
Understanding these steps not only aids in accurate testing but also empowers automotive enthusiasts to take control of their vehicle's performance.
In conclusion, regularly testing the intake air temperature sensor can significantly enhance engine performance and efficiency. By following the guidelines and troubleshooting tips presented, vehicle owners can ensure their IAT sensor operates optimally, contributing to better fuel economy and lower emissions. Taking these proactive measures reflects a commitment to responsible vehicle ownership and environmental stewardship.
Frequently Asked Questions
What is the purpose of the intake air temperature (IAT) sensor?
The IAT sensor measures the temperature of the air entering the engine and provides essential data to the engine control unit (ECU) to adjust the air-fuel mixture for optimal combustion efficiency and engine performance.
Why is the IAT sensor important for engine performance?
A well-functioning IAT sensor ensures smooth engine operation, improves fuel economy, and reduces emissions by helping the ECU optimize the air-fuel mixture.
How does the IAT sensor affect fuel economy?
By providing accurate temperature readings, the IAT sensor allows the ECU to adjust the air-fuel mixture effectively, which helps in enhancing fuel economy.
What can automotive enthusiasts learn by understanding the IAT sensor?
Understanding the IAT sensor's importance can help automotive enthusiasts maintain and enhance their vehicle's performance and diagnose potential issues effectively.
In which types of vehicles is the IAT sensor particularly crucial?
The IAT sensor is particularly crucial in modern automobiles, especially in performance-oriented models like the Holden Commodore.
