
Install Your 3 Inch Oval Exhaust Pipe in 4 Simple Steps

Introduction
Imagine revving up your engine, only to be met with the frustration of a poorly installed exhaust system - what a letdown! Transforming a vehicle's performance can be an exhilarating journey, especially when it involves installing a 3 inch oval exhaust pipe. This upgrade not only enhances the sound and efficiency of the engine but also adds a touch of personal flair to any ride.
But let’s face it, the road to a perfect exhaust installation is often riddled with bumps and unexpected turns. From ensuring the right tools are on hand to navigating potential pitfalls during the setup, the challenges can feel overwhelming.
How can you ensure a seamless installation that maximizes performance while keeping safety in check? This guide breaks down the process into four simple steps, empowering you to tackle the task with confidence and precision.
With the right guidance, you can transform that frustration into a thrilling ride that turns heads and ignites passion on the road.
Gather Necessary Tools and Materials
Are you ready to transform your ride with a 3 inch oval exhaust pipe? Let’s make sure you have everything you need for this exciting journey!
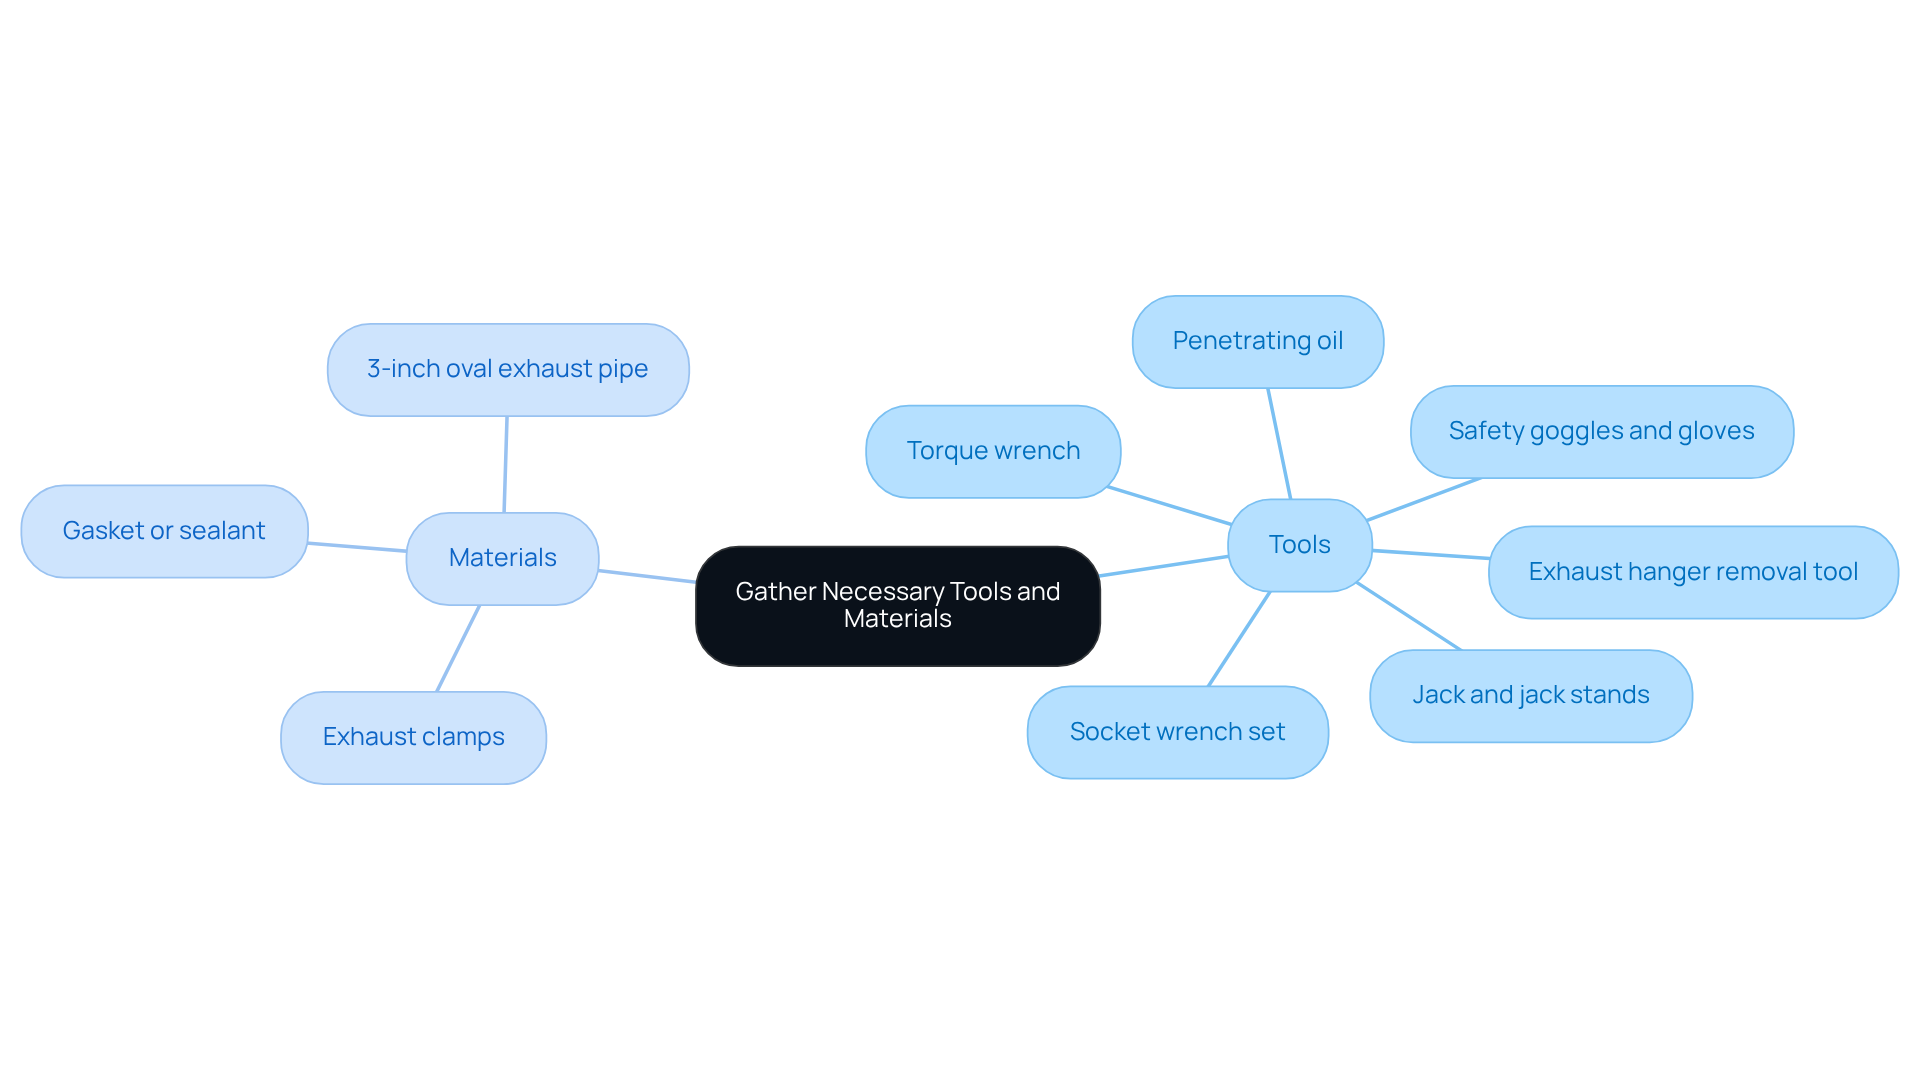
Before you dive in, gather these essential tools and materials:
Tools:
- Socket wrench set
- Torque wrench
- Jack and jack stands
- Penetrating oil (for rusted bolts)
- Exhaust hanger removal tool
- Safety goggles and gloves
Materials:
- 3-inch oval exhaust pipe
- Exhaust clamps (appropriate size)
- Gasket or sealant (if required)
Having these tools and materials ready is crucial for a successful installation of your 3-inch oval exhaust pipe. Imagine the thrill of hearing your engine roar, but that excitement can quickly turn to dread if you over-tighten those bolts! A torque wrench is your best friend here, ensuring everything stays just right. And don’t forget the exhaust hanger removal tool; it’ll make handling those components a breeze!
Picture this: you’re ready to hit the road, but a simple mistake in setup could leave you stranded. That’s why gathering the right tools is not just smart; it’s essential for your adventure! So, gear up and gather your tools! With everything in place, you’re not just installing a 3 inch oval exhaust pipe; you’re unleashing a new level of performance and excitement on the road!
Prepare the Vehicle for Installation
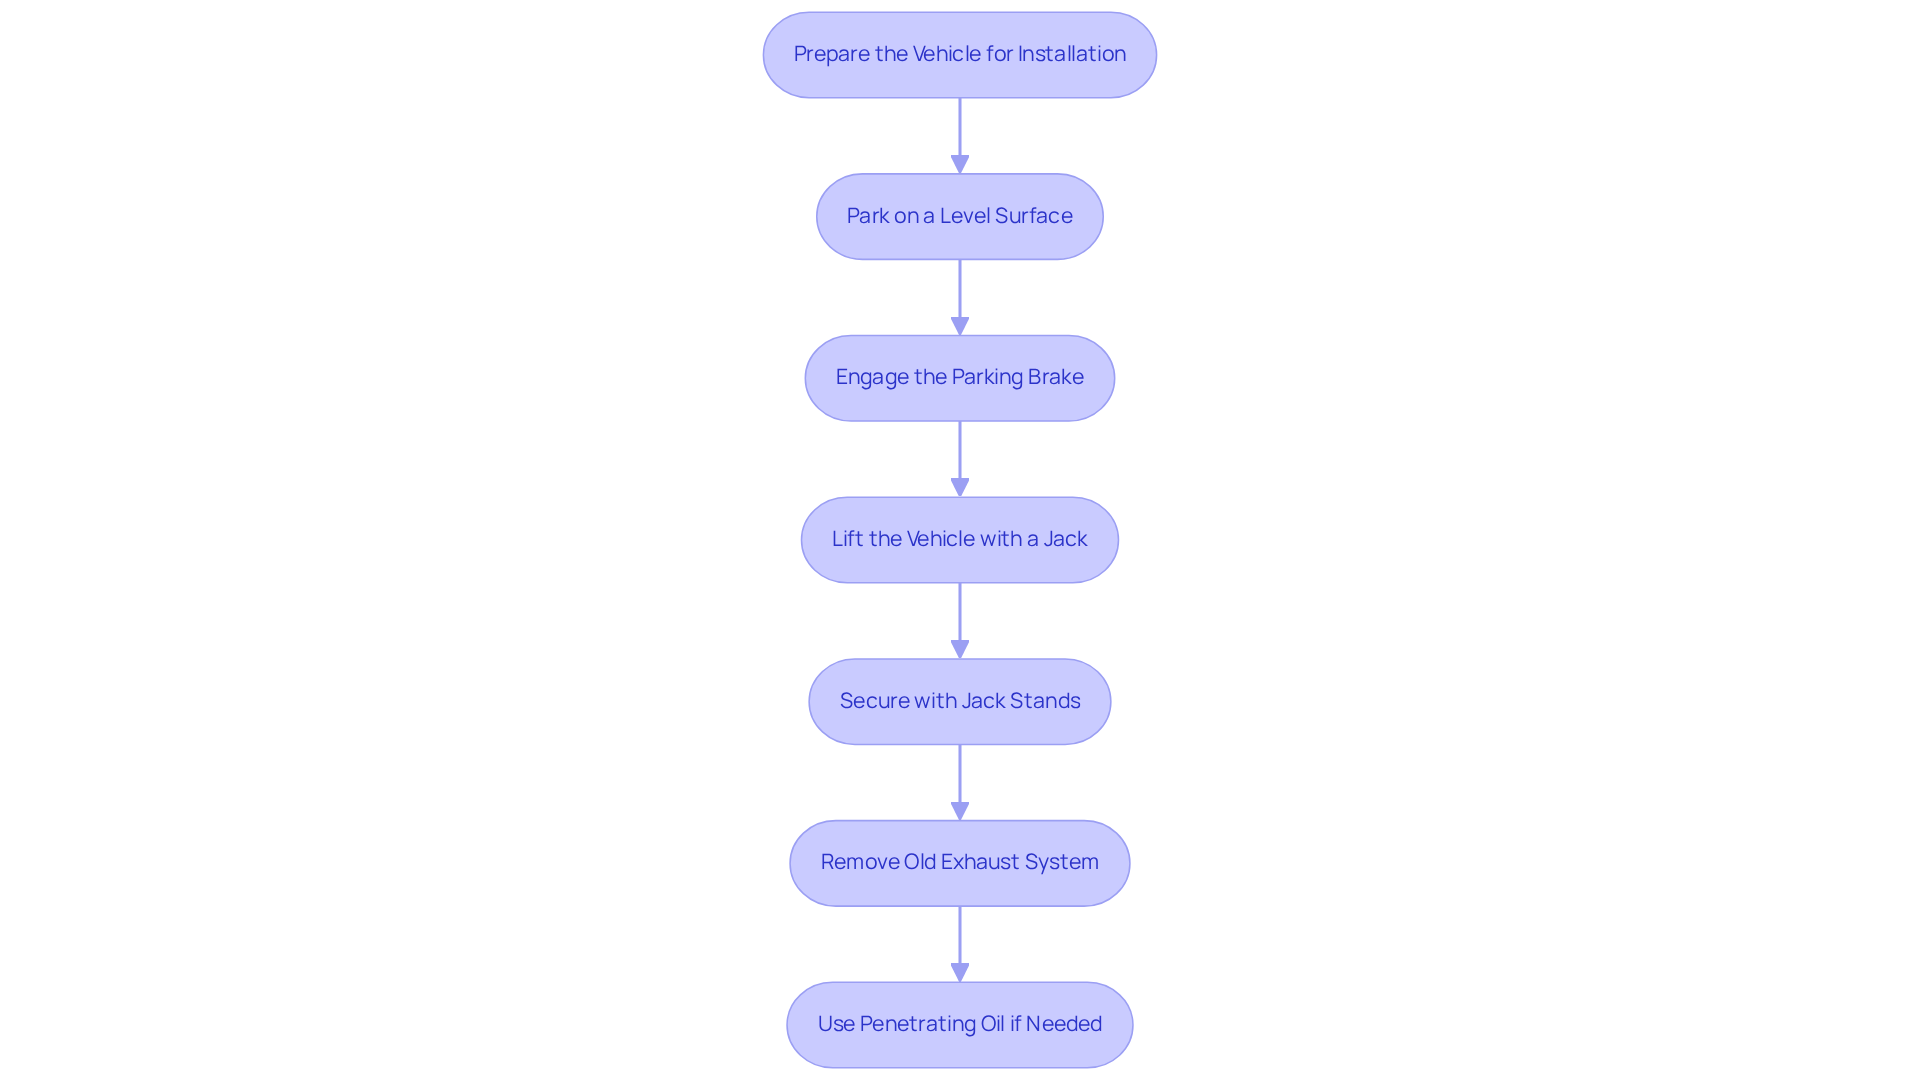
Picture this: you’re about to transform your vehicle’s performance, but first, you need to ensure your workspace is as safe as it is exciting! Start by parking on a level surface-this is crucial to prevent any rolling during the installation process. Next, engage the parking brake. It’s a simple step, but it secures your automobile and enhances safety while you work underneath.
Now, grab your trusty jack and lift that beauty up-just make sure to secure it with jack stands for peace of mind! Before you dive into the installation, confirm that the vehicle is stable. Imagine the anxiety of working under a car that isn’t securely lifted-one wrong move could lead to disaster.
Once you’re set, it’s time to remove the old exhaust system. Carefully loosen those bolts and disconnect the hangers. If you encounter rusted bolts, don’t fret! A little penetrating oil can work wonders and make removal a breeze.
By following these steps, you’re not just creating a safe and accessible workspace; you’re also embracing the thrill of the upgrade. Remember, every step you take in preparation is a step toward not just a successful installation, but a safer driving experience for you and everyone on the road. Safety isn’t just a protocol; it’s a commitment to excellence in automotive performance!
Install the 3 Inch Oval Exhaust Pipe
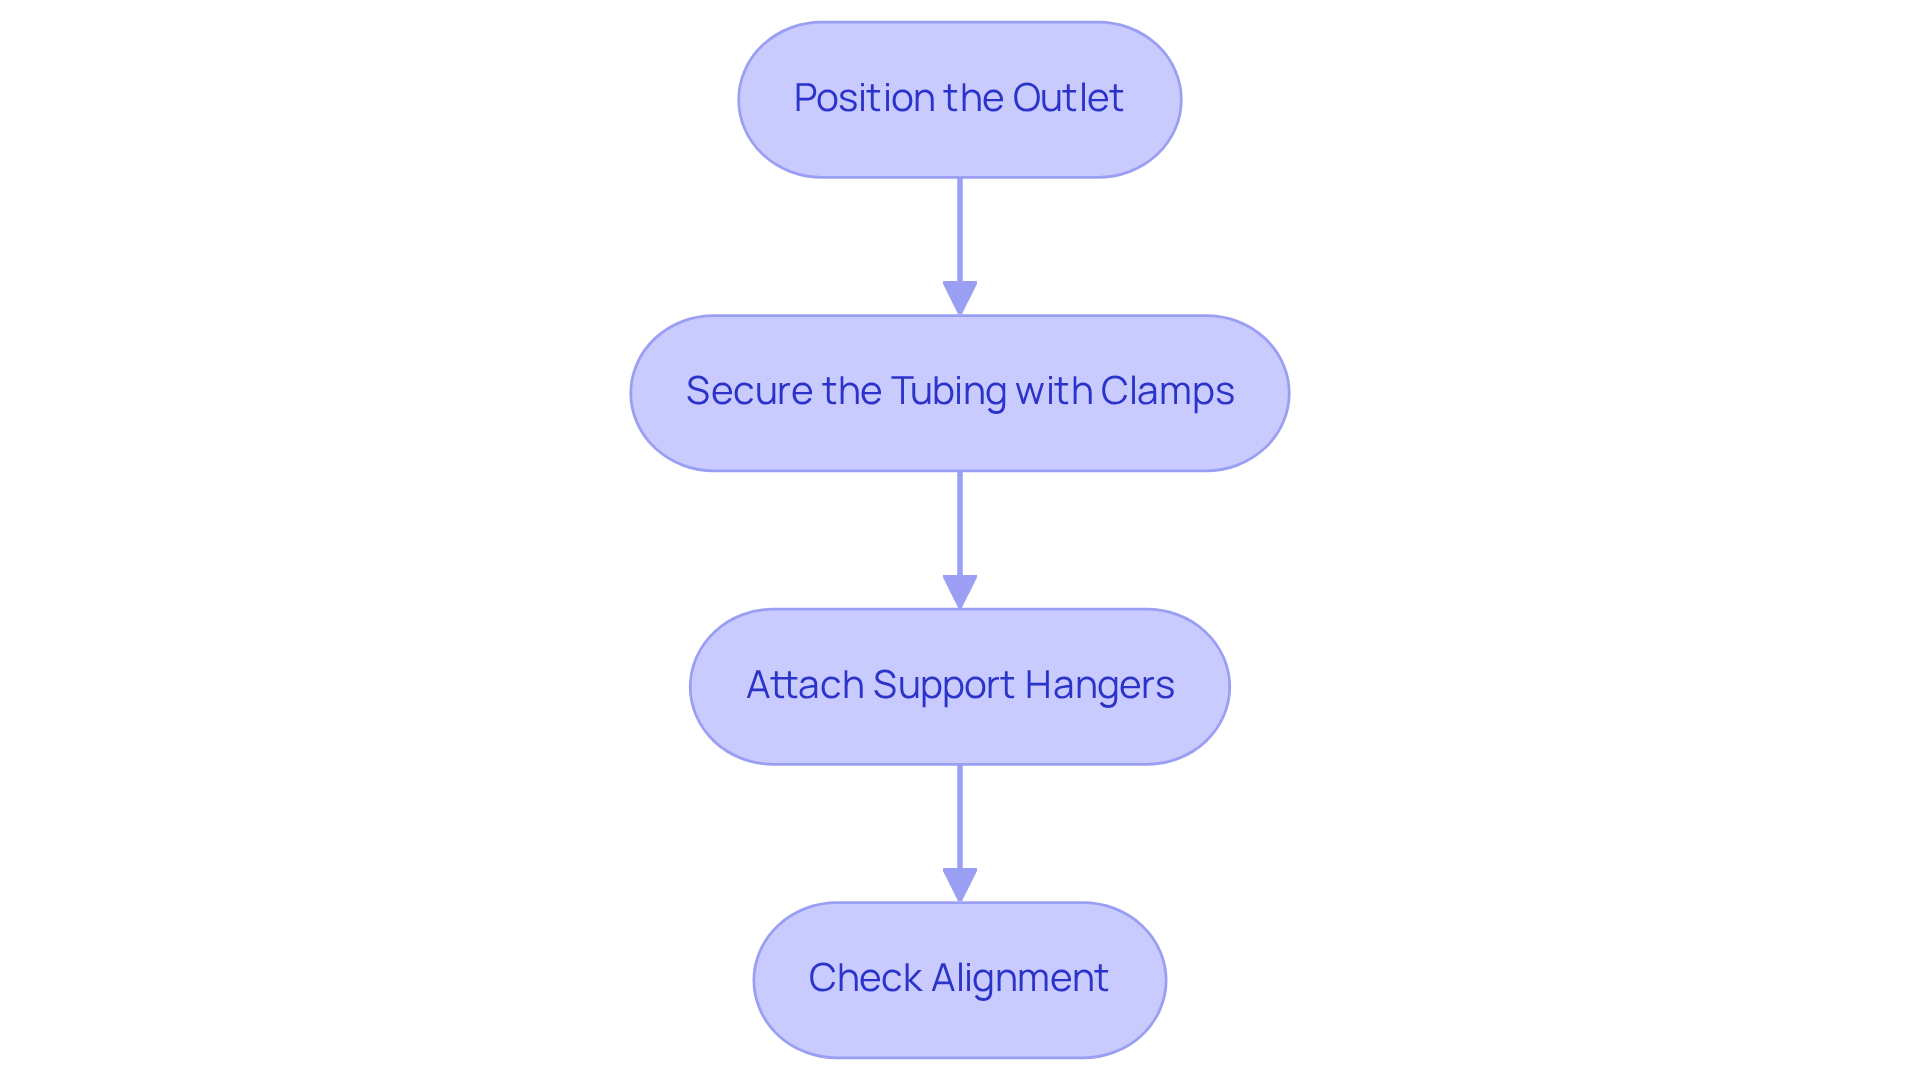
Installing a 3 inch oval exhaust pipe can feel daunting, but the thrill of unleashing your vehicle's true power is worth every moment of effort! Start by positioning your new outlet just right, feeling that excitement as it aligns perfectly with your existing system for peak performance! Next, grab those fastening clamps and feel the satisfaction of securing the tubing to your system, making sure it’s snug but not too tight-after all, we want to protect that precious tubing!
Now, let’s attach those support hangers, giving your tubing the sturdy support it needs-because a well-supported exhaust is a happy exhaust! Finally, take a moment to step back and admire your work-check that alignment to ensure everything is straight and ready to roar!
And don’t forget, choosing durable materials like stainless steel not only boosts longevity but also elevates your performance, making every drive a thrilling experience! By following these steps, you’ll ensure a proper installation of your system with the 3 inch oval exhaust pipe, enhancing your vehicle's performance and sound quality, igniting a passion for driving that will resonate with every rev of the engine.
Finalize Installation and Conduct Safety Checks
After installing that sleek 3 inch oval exhaust pipe, the last thing you want is to hit the road with lingering doubts about performance and safety.
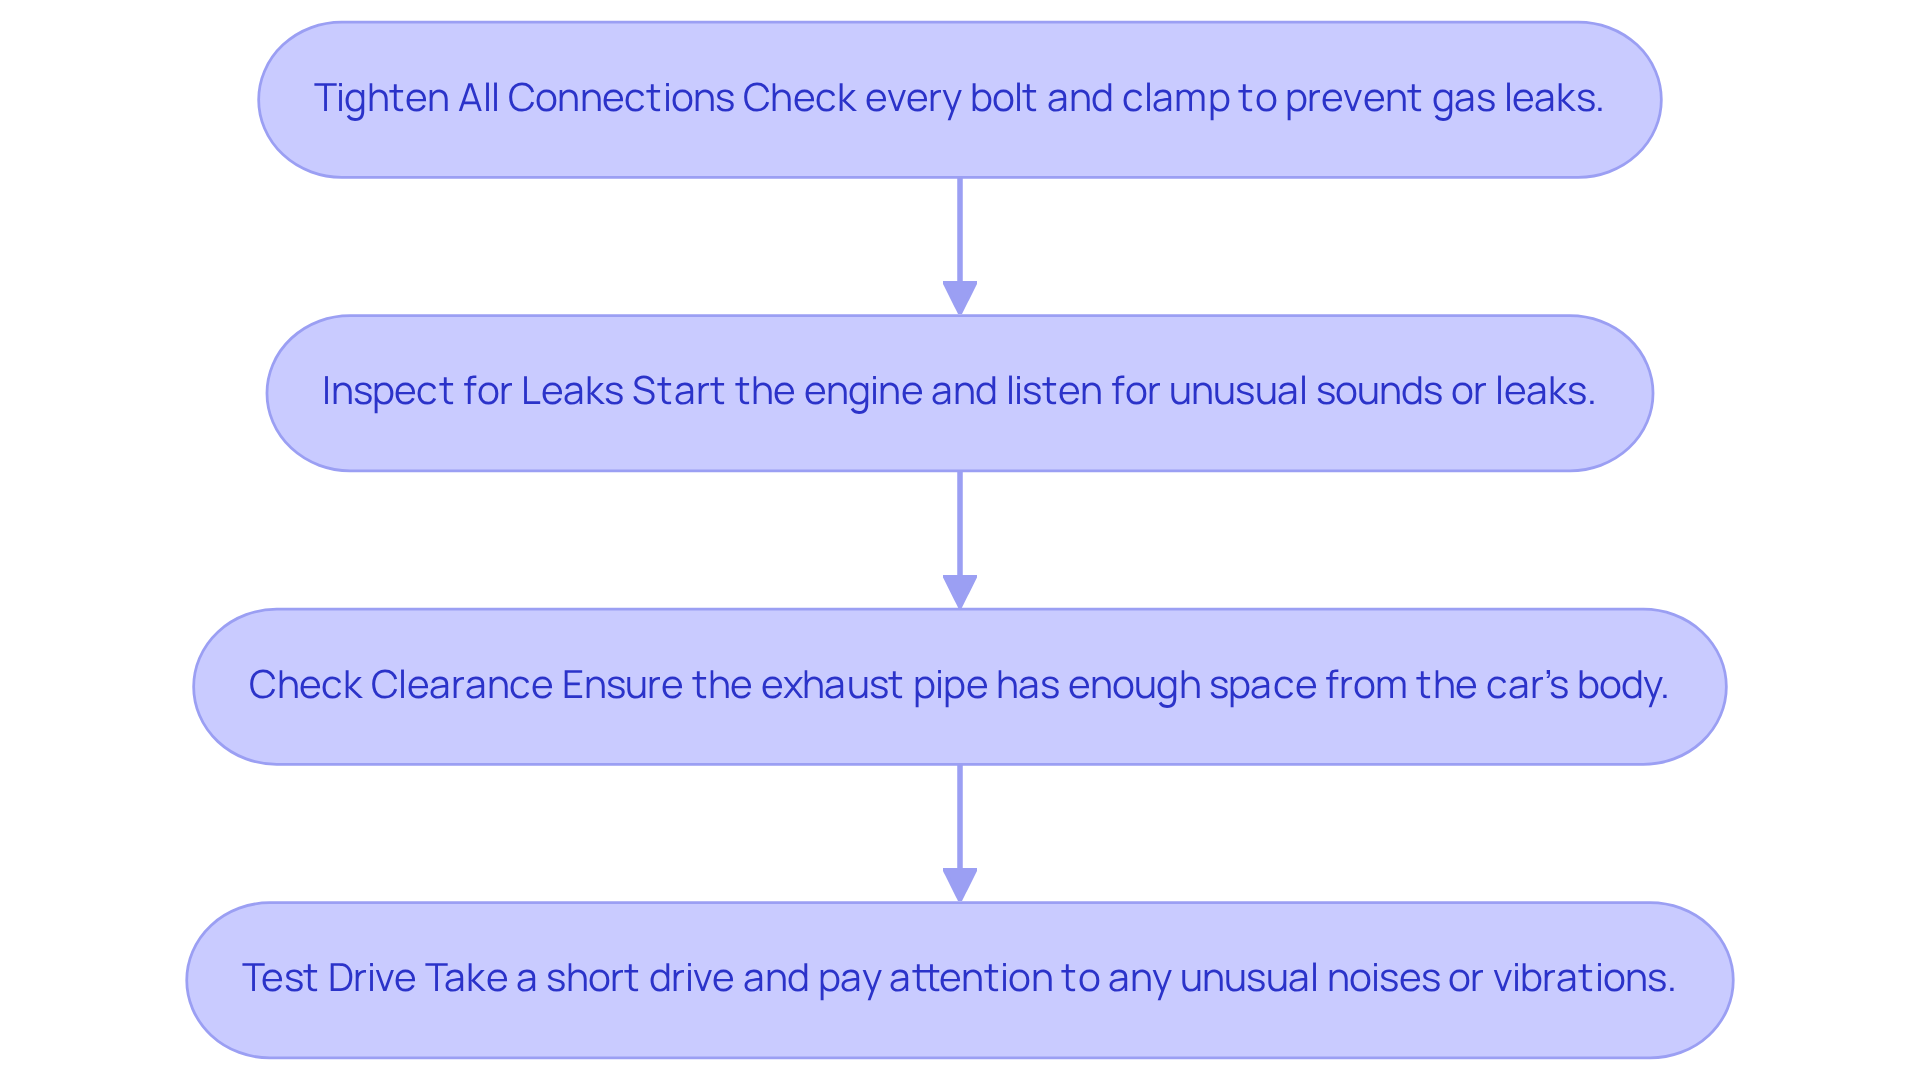
- Tighten All Connections: Take a moment to check every bolt and clamp, making sure they’re snug and secure - because nothing ruins a great drive like a gas leak! This step is crucial; loose connections can lead to gas leaks and a drop in performance.
- Inspect for Leaks: Fire up that engine and let it purr, listening closely for any signs of trouble. As you let it idle, keep your ears peeled for unusual sounds or leaks around the joints and connections. Did you know that 59% of AA Members rely on WoF inspections to catch faults they might otherwise miss? That’s a testament to the importance of thorough post-installation checks!
- Check Clearance: Make sure that the exhaust pipe has enough space from the car's body and other components. If it’s too close, you could face contact issues that might lead to damage or safety hazards.
- Test Drive: Now comes the fun part! Take your automobile for a short test drive and feel the difference. Pay attention to any unusual noises or vibrations; these could signal installation issues that need addressing.
By wrapping up these checks, you’re not just boosting your exhaust’s performance; you’re ensuring your ride is as safe as it is exhilarating! Case studies reveal that thorough post-installation inspections can prevent costly repairs and keep you compliant with safety standards. For instance, 42% of AA Members have failed a WoF due to a safety issue they weren’t aware of, making these checks a golden ticket to a thrilling drive, turning your vehicle into a performance beast that you can trust and enjoy!
Conclusion
Imagine the roar of your engine as you embark on an exhilarating journey, transforming your ride with a 3 inch oval exhaust pipe! This isn’t just about enhancing performance; it’s about diving into a thrilling experience that starts with careful preparation and execution. By following the outlined steps - from gathering essential tools to conducting thorough safety checks - you’ll find that the installation process becomes a rewarding adventure that elevates both the sound and efficiency of your ride.
Remember, every step you take in preparation and safety is a step toward unleashing the full potential of your ride! Ensuring you have the right tools, preparing your vehicle properly, and meticulously installing the exhaust pipe are all critical components that contribute to a successful upgrade. And let’s not forget those final checks; they not only enhance performance but also give you peace of mind, knowing your vehicle is safe and sound.
This journey isn’t just about installation; it’s about showcasing your dedication to automotive excellence! By taking the time to follow these steps, you can enjoy a more powerful and exhilarating driving experience. So gear up, dive into the process, and let your vehicle's new voice tell the world about your passion for performance!
Frequently Asked Questions
What tools do I need to install a 3-inch oval exhaust pipe?
You will need a socket wrench set, a torque wrench, a jack and jack stands, penetrating oil (for rusted bolts), an exhaust hanger removal tool, safety goggles, and gloves.
What materials are required for the installation?
The materials required include a 3-inch oval exhaust pipe, exhaust clamps of the appropriate size, and a gasket or sealant if needed.
Why is a torque wrench important for this installation?
A torque wrench is important because it helps ensure that bolts are tightened to the correct specifications, preventing over-tightening which could lead to issues.
What is the purpose of the exhaust hanger removal tool?
The exhaust hanger removal tool is used to make handling the exhaust components easier during the installation process.
How does gathering the right tools and materials affect the installation process?
Gathering the right tools and materials is crucial for a successful installation, as it helps prevent mistakes that could lead to complications or leave you stranded.
